Each of these parts can be achieved in multiple ways.
The recommendations are usually shown to a user on a website, in a mobile app or within an email campaign.
Sending Interactions
Interactions are the most valuable information for the algorithms in the recommender engine.
The interactions that you send are used by the recommender engine in finding out which items are popular, as well as which recommendations perform the best. There are multiple kinds of interactions that are supported.
For example, a Detail View is sent every time a user views the detail of an item, while a Purchase is sent every time a user completes the main desired goal (a conversion). In most cases, you will want to send multiple kinds of interactions as part of your integration.
Keep in mind that the names of interaction types may not have the same meaning in your business compared to how they are used in Recombee. For example, an event that is called a Purchase in Recombee may not necessarily mean that the user has bought something, but could also mean that the user replied to an advertisement or watched a video until the end.
You can send interactions using one of the following methods:
// Import the library using npm or using the script tag:// <script src="https://cdn.jsdelivr.net/gh/recombee/js-api-client/dist/recombee-api-client.min.js"></script>const client = new recombee.ApiClient('myDb', publicToken, {region: 'us-west'});
await client.send(new recombee.AddDetailView('2c169e', 'xyz'));
Copy
import com.recombee.apiclientkotlin.RecombeeClient
import com.recombee.apiclientkotlin.util.Region
import com.recombee.apiclientkotlin.requests.*
import com.recombee.apiclientkotlin.exceptions.ApiException

val client = RecombeeClient(
    databaseId = "your-db-id",
    publicToken = "your-public-token",
    region = Region.UsWest
)

val request = AddDetailView(userId = "2c169e", itemId = "xyz")

client.send(request,
    { response ->
        ...
    },
    { exception ->
        ...
    }
)
// Alternatively, you can use sendAsync for coroutines instead of callbacks
Copy
let client =RecombeeClient(
databaseId: "your-db-id",
publicToken: "your-public-token",
region: .usWest
)
let request =AddDetailView(userId: "2c169e", itemId: "xyz")
do {
let response =tryawait client.send(request)
// Handle the successful responseprint("Success: \(response)")
} catch {
// Handle the error (e.g. ClientError or any other error)print("Error: \(error)")
}
Copy
from recombee_api_client.api_client import RecombeeClient, Region
from recombee_api_client.api_requests import *

client = RecombeeClient('myDb', private_token, region=Region.US_WEST)
client.send(AddDetailView("2c169e", "xyz", timestamp="2014-07-20T02:49:45+02:00", cascade_create=True))
using Recombee.ApiClient;
using Recombee.ApiClient.ApiRequests;
using Recombee.ApiClient.Bindings;
using Recombee.ApiClient.Util;

var client = new RecombeeClient("myDb", privateToken, region: Region.UsWest);
var datetime = DateTime.Parse("2014-07-20T02:49:45+02:00", null, System.Globalization.DateTimeStyles.RoundtripKind);
client.Send(new AddDetailView("2c169e", "xyz", timestamp: datetime, cascadeCreate: true));
Copy
var recombee = require('recombee-api-client');
var rqs = recombee.requests;

var client = new recombee.ApiClient('myDb', privateToken, { region: 'us-west' });
await client.send(
    new rqs.AddDetailView('2c169e', 'xyz', {
        timestamp: '2014-07-20T02:49:45+02:00',
        cascadeCreate: true,
    }),
);
POST /myDb/detailviews/ HTTP/1.0
Host: Based on the region of your DB, see https://docs.recombee.com/regions
Content-type: application/json

Body:
{
	"itemId": "xyz",
	"userId": "2c169e",
	"timestamp": "2014-07-20T02:49:45+02:00",
	"cascadeCreate": true
}
There are a few important parameters in the above code:
myDb is the name of the database you are sending data to (required),
publicToken or privateToken is the access token for the given database (required),
region is the region where your DB is located (recommended),
itemId is a unique identifier of the item (required),
userId is a unique identifier of the user (required). For anonymous users, you can use a session ID.
Optional parameters:
timestamp is a UNIX timestamp or ISO 8601 date-time of the view. If not specified, the current time is used.
cascadeCreate tells the system that it should create the item or the user if it doesn't exist yet.
If not specified, it is set to true in client-side SDKs and false in server-side SDKs.
We recommend that you use this parameter to prevent errors in case the item or user doesn't exist yet.
Interactions also have optional parameters unique to each type, such as duration for Detail View or profit for Purchase. You can find the full list of parameters in the API documentation.
Handling Anonymous Users
You may encounter a situation where a user comes to the site as an anonymous user and logs into a regular account later. This is especially the case in e-commerce.
However, ideally, you want to track the interactions of the anonymous user before they log in and then use that data to provide better recommendations after they log in.
To handle this situation, you can use the following approach:
For anonymous users, use a session ID or another unique identifier (e.g. a randomly generated ID consistent across the session) as the userId parameter when sending interactions.
For logged-in users, use their user ID as the userId parameter.
When a user logs in, send a Merge Users request to merge the anonymous user with the regular account. This way, all interactions of the anonymous user will be transferred to their account and the anonymous user ID will be deleted.
Reporting Successful Recommendations
Once you have integrated recommendations into your site or application, it is very important to report the success of these recommendations, as without it, the system will not be able to get precise feedback and improve the quality of future recommendations.
You should report a successful recommendation by adding a parameter called recommId to all interactions which are based on that recommendation. For example, if a user views an item that was recommended to them, you should send the recommId of that recommendation with the Detail View. If they then purchase the item, you should also send the recommId with the Purchase.
You can find the recommId in the Recommendation object that you receive from the API:
You can then use this value in an optional parameter in all interaction requests in all Recombee API SDKs, as well as in the Segment integration. For the API SDK, you can find a code example in the API Reference.
As a result of sending the recommId with your interactions, the models will be able to return better recommendations and you will also get precise success metrics in the Admin UI.
There need to be enough interactions in the system for it to produce quality recommendations, so it may take some time before the best recommendations are produced.
If you're looking to improve the performance of the models beforehand, we recommend that you submit a historical log of past interactions. To achieve this, you can use the Batch API endpoint to send multiple interactions in a single request.
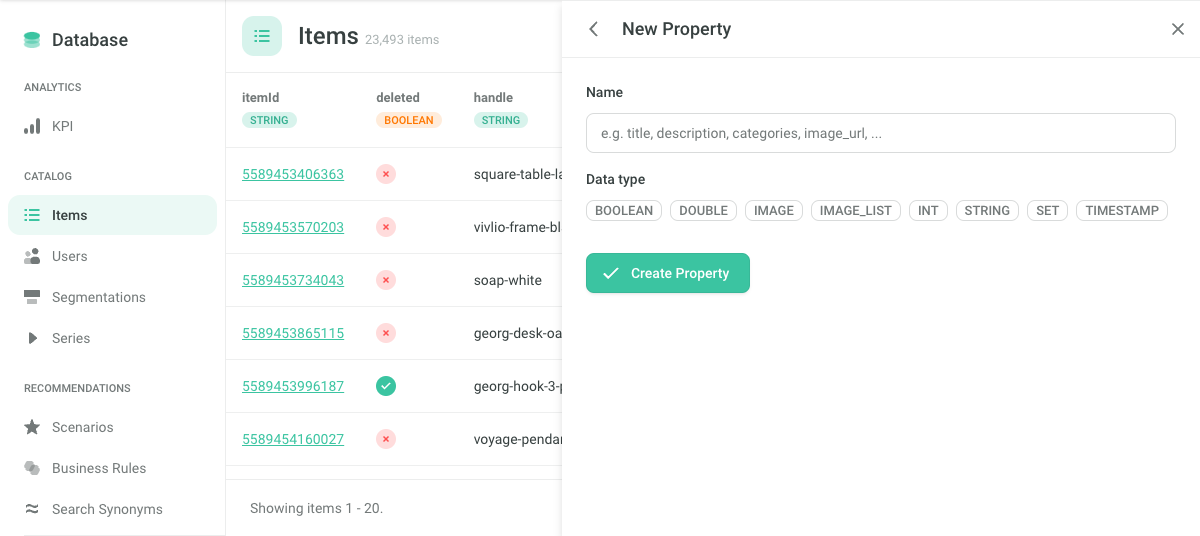
Updating the Item Catalog
The second most important kind of data for the recommender system is information about the items
(e.g, names, descriptions, categories).
The data that you send about the items is used in multiple ways:
It can be used for filtering and boosting recommendation results with ReQL, allowing you to influence the recommender engine.
It can be returned when getting recommendations to show to the users, so that you don't have to make additional requests to your database to get the item details.
It is also used to compute the recommendations, especially when the items have very few interactions (e.g., newly added items).
There are two possible methods of updating the item catalog:
For examples of properties that can be useful for the recommender engine, see Integration Tips. You can also assign semantic roles and metadata to your properties - see Property Roles & Metadata for the full reference.
Sending Item Values
Let's say we've added some item properties to our database, and now want to set their values for a particular item xyz.
The cascadeCreate parameter indicates that the item of the given itemId should be created if it does not exist in the database.
After sending the above request, you can check that the values have been successfully set in the Admin UI.
If you wish to send an entire catalog, sending a request for each item separately may be quite slow. To speed up the process, we recommend using Batch requests.
In addition to Item Properties, the system also supports User Properties. These work in a similar way, but are used to describe the users instead of the items. Learn more in the User Properties API section.
Tip
Still not sure on how to implement sending of the Item Catalog? See the
Tutorial for more details.
Getting Recommendations
Now it's time to get some recommendations!
There are three possible ways to get recommendations onto your site:
Recommend Items to User - The system recommends items to a given user depending on the user's personal taste. This case can be used for example on your homepage.
Recommend Items to Item - The system recommends items that are related to a given item. The system can also take into account the target user, which can be useful on the page of a product or article, since the endpoint will give the user a list of related items that they might also be interested in.
Recommend Items to User
Getting 5 recommendations for user 2c169e is very easy:
Besides the IDs of the recommended items, a unique recommId is returned. It can be used for several purposes:
It allows you to report the success of recommendations, which gives you metrics in the Admin UI, while also allowing the recommender engine to improve its quality.
It enables you to fetch another set of recommendations for the same user without repeating the ones you have already displayed, which is useful for implementing Infinite Scroll & Pagination.
Recommend Items to Item
Getting recommendations based on item xyz which is viewed by user 2c169e is also easy:
GET /myDb/recomms/items/xyz/items/?count=10&targetUserId=2c169e&scenario=product_detail&returnProperties=true&cascadeCreate=true
In this case, three optional parameters were also set: scenario, returnProperties, and cascadeCreate.
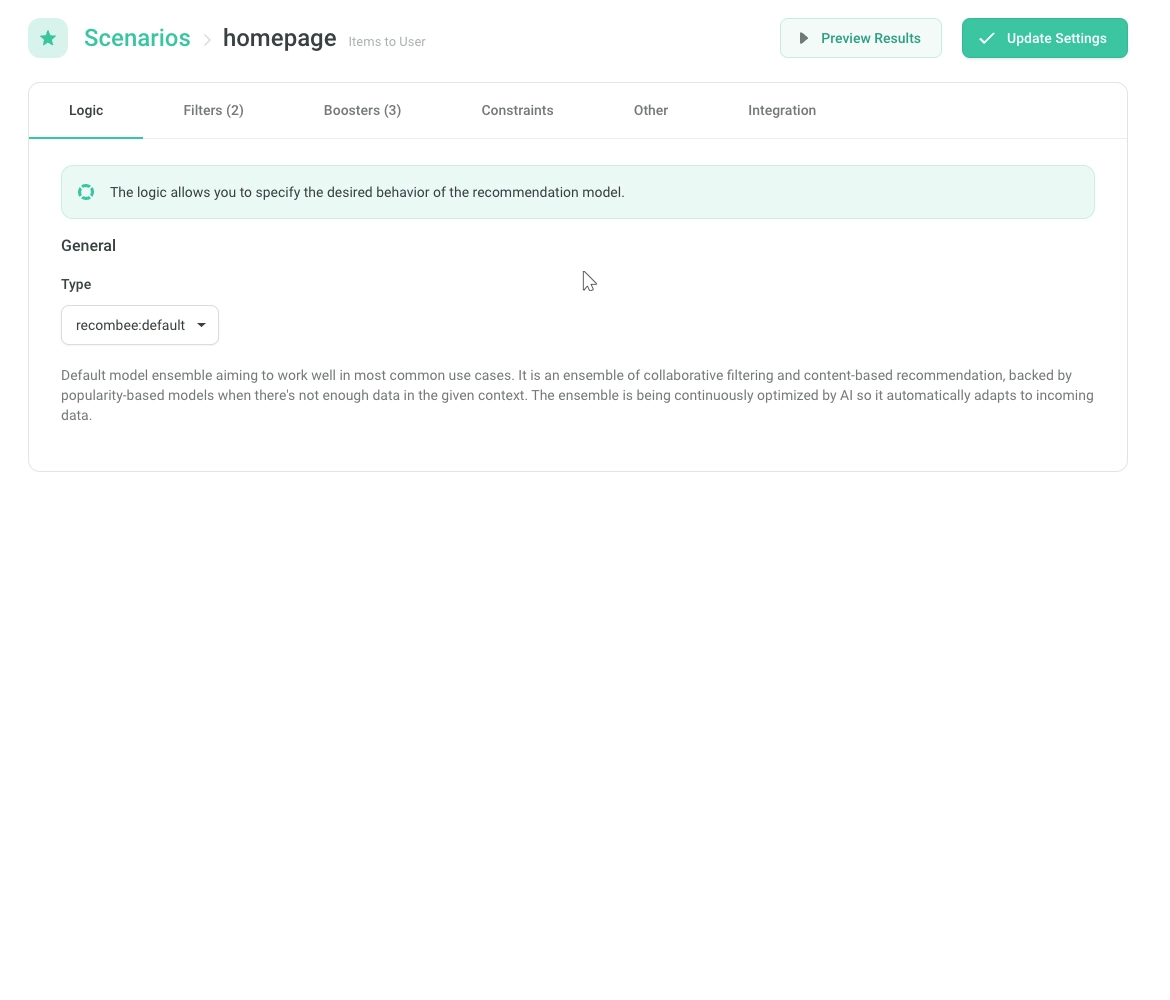
A Scenario defines a particular application of recommendations on your website, your mobile app or emailing campaign. Some examples can be homepage, watch-next, product-detail, cart, or emailing-after-purchase.
Logic, which specifies the desired behavior of the recommendation model.
Filters & Boosters, by which you specify your business rules (which items can be recommended and which items should be preferred).
Constraints, by which you can specify the number of allowed items in the recommendation response per category, brand, or other criteria.
See Integration Tips for examples of typical scenarios in a particular domain (media, e-commerce, real estate, etc.) and their suggested settings.
You can also customize the above parameters via the API. For more details see the Recommendations API section.
Setting Logic & Filter in the Admin UI
Recommend Item Segments
Recombee can also recommend Item Segments such as categories, genres, or brands. See Segmentations for more information, including how to set them up and use them for recommendations.
Tips and Tricks
Getting Properties of Recommended Items from the API
The API can also return the properties of the recommended items, which you can then use to display these items to your users.
To enable this, set returnProperties = true when requesting recommendations.
We also recommend that you use the includedProperties parameter to specify which properties you want to receive in the response.
If the given user or item does not exist in the system yet (for example because the item catalog is updated periodically only once a day) the default behavior is to return an error (HTTP 404).
Setting cascadeCreate = true tells the recommender to rather create the missing item/user instead.
Some bestsellers/trending content will be recommended to these completely new (cold start) items/users
without interactions and properties. cascadeCreate is set to true by default in client-side SDKs.
If you are implementing features like infinite scroll or pagination, you can use the Recommend Next Items endpoint to load recommendations based on the previous pages.
This means you can fetch the next set of recommended items without repeating the ones you have already displayed.
To use this functionality, you must provide the recommId from the initial recommendation request.
Still not sure on how to implement sending interactions & getting recommendations? See the
Tutorial for more details.
Personalized Search
Our personalized full-text search enhances the search experience on your site.
Besides recommendations, Recombee can also provide personalized search results. This means that the search results take into account the user's preferences and behavior, not just the search query.
There are three possible ways to implement search on your site: