User Documentation
API Clients & Integrations
Scenario Recipes
No-Code Widgets are the easiest way to get recommendations and full-text search into your site.
No-Code Widgets can be configured in the Admin UI. They are deployed into a website or app using an embed code.
We provide widgets both for displaying recommended items (Recommend Items To User, Recommend Items To Item) and for full-text search.
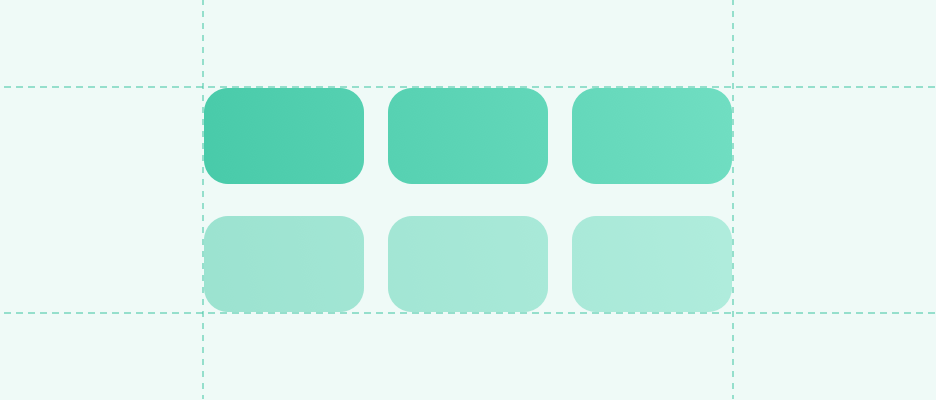
A box with an adjustable number of items depending on available width (e.g. 5 items horizontally on desktop and 3 items vertically on mobile).
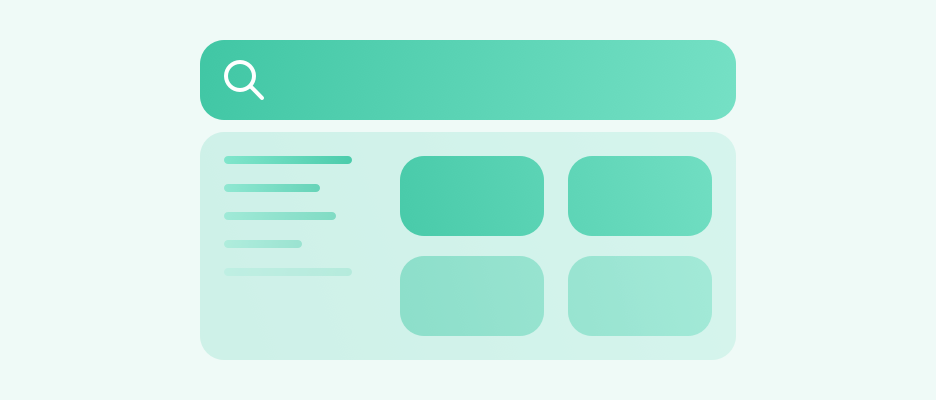
A widget showing full-text search results based on the user’s query. See the Full-text Search Widget section for more details.

A feed of items that incrementally loads more content upon reaching the end of the box.
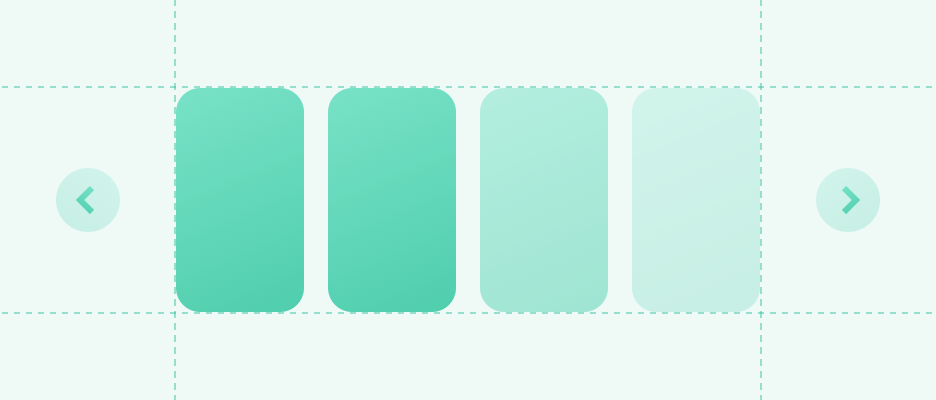
A box that loads additional recommendations upon clicking the arrow button.
Each No-Code Widget is linked to a Scenario - a place on your site where the recommendations are displayed. You can set various settings for each Scenario in the Admin UI. Learn more in the Scenarios page.
The Scenario also defines the type (endpoint) of the recommendations:
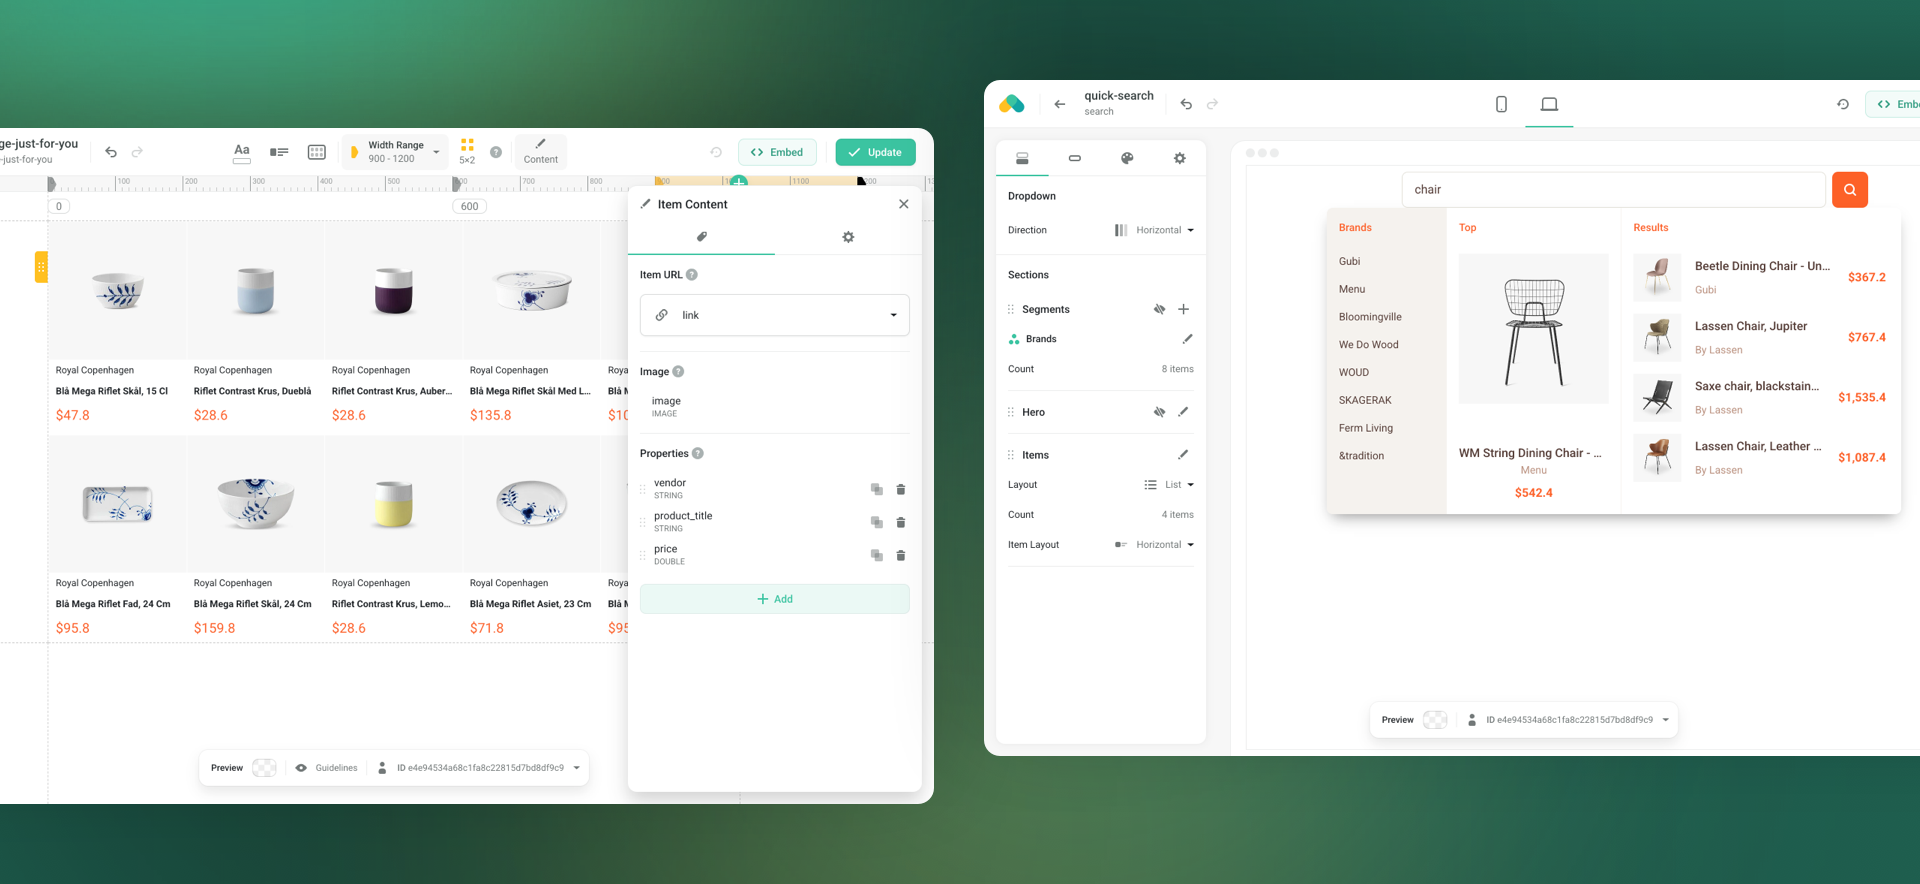
To create a new No-Code Widget, go to the Create No-Code Widget page in the Admin UI and select the type of the widget that you want to create (e.g. Carousel or Grid).
If you don't have a Scenario for the Widget yet, you will be prompted to create one at this point.
You can set which Item Properties will be shown in the Widget and also all kinds of visual settings (e.g. font, colors, borders, and many more). You can also set how many items will be shown on different types of devices.
In the case of Recommend Items To User Scenarios, no additional data needs to be provided to the widget - simply copying the embed code into your website is enough.
You may want to use some of the embed code's optional parameters (such as a dynamic filter), fine-tune the visual appearance using your own CSS or provide your own user IDs.
In case of the Recommend Items To Item Scenarios (e.g. at product detail, read next, watch next, etc.), the ID of the currently displayed item needs to be provided to the embed code snippet.
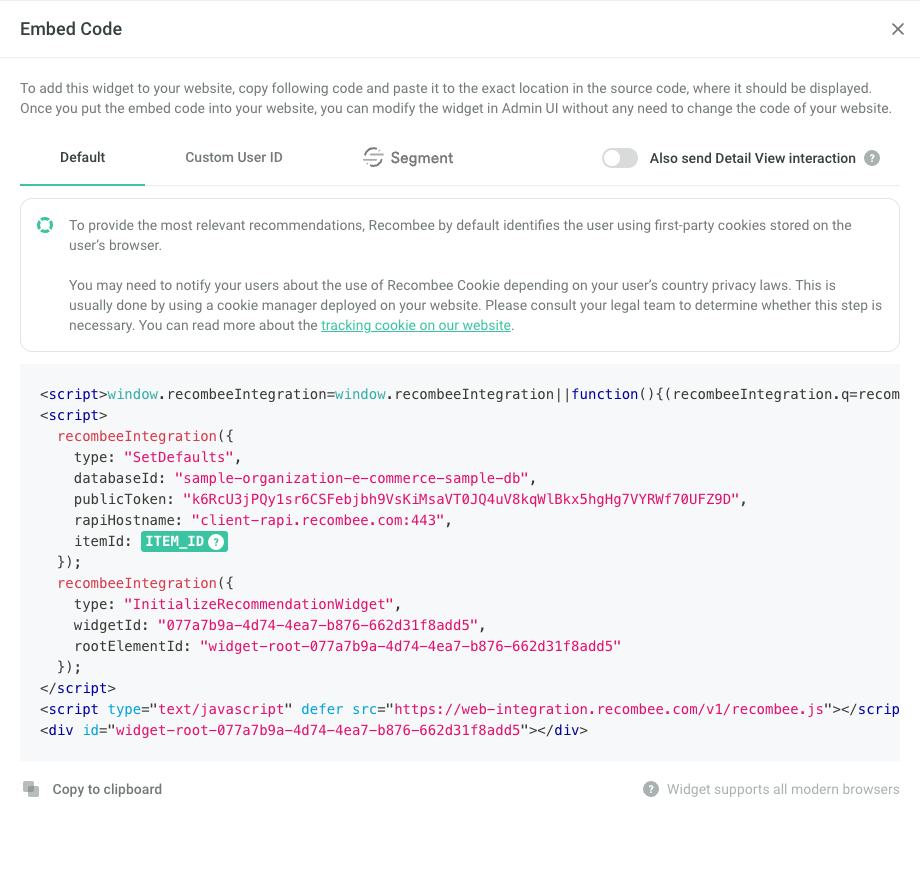
Different systems have different ways to acquire the item ID. Here is an example of setting the item ID in a Shopify theme, using the product object:
<script>
	recombeeIntegration({
		type: 'SetDefaults',
		itemId: '{{product.id}}',
		publicToken: 'e2RcU3jPQy1sr6CSIewjbh6IsKmMsaGT4KL4uV8kqWlBkx5hgHg7VYRWf70UFZ9D',
		databaseId: 'my-recombee-database',
		rapiHostname: 'client-rapi.recombee.com:443',
	});
</script>
In the case of Recommend Items To Item Scenarios, besides showing recommendations to users, the No-Code Widget can also automatically send the information that the user viewed the item (e.g. product, article, etc.) to Recombee.
This simplifies the basic integration of Recombee into your website, as the only step left which is not covered by the No-Code Widget is providing the catalog of your Items. This can be done by setting up a Catalog Feed in the Recombee Admin UI or by using an SDK.
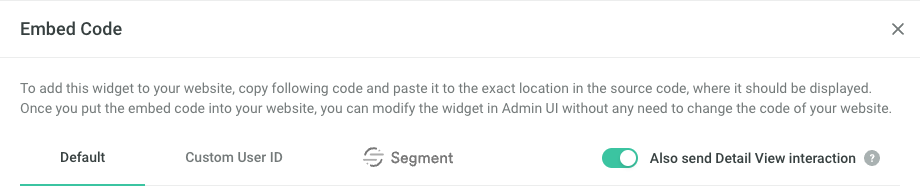
Sending the interaction can be enabled in the Embed Code section. The interaction which is being sent is a Detail View.
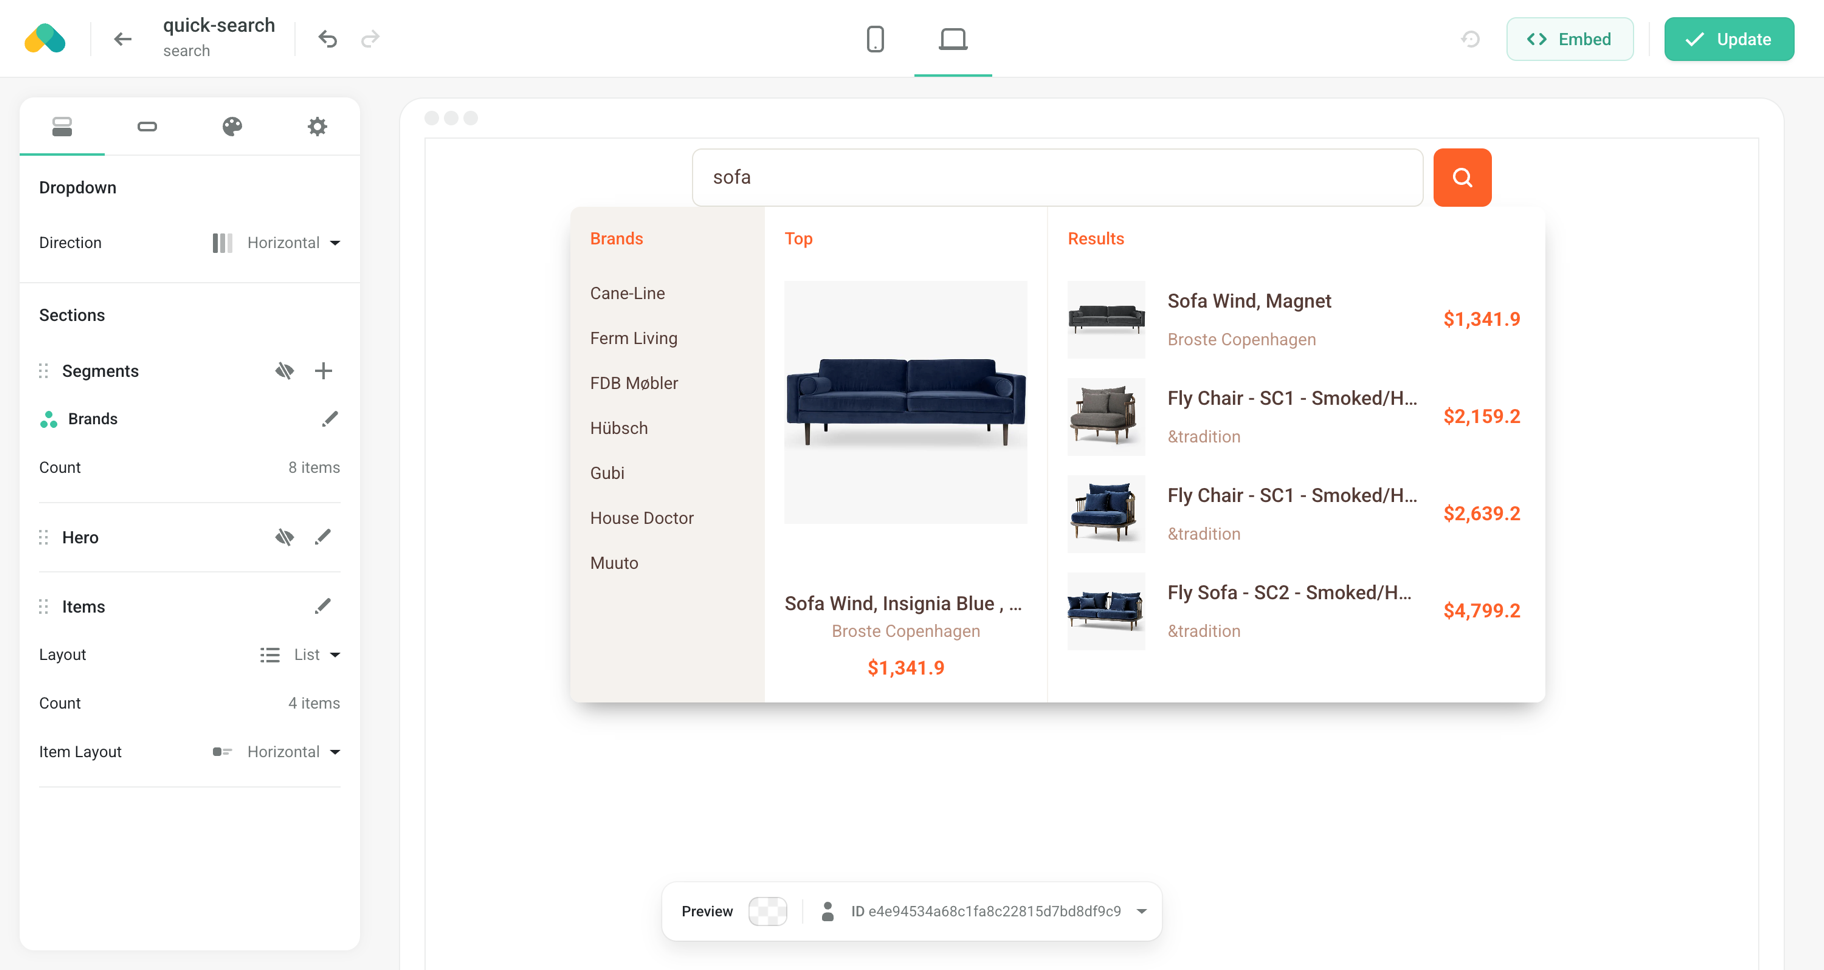
The Quick Search No-Code Widget can contain multiple sections. Each of these is connected to a Scenario.
The number of Search requests sent by the Widget is equal to the number of used sections.
In the Layout menu, you can change the order of the displayed sections by moving them (drag and drop), as well as the layout of the sections (e.g. from horizontal to vertical).
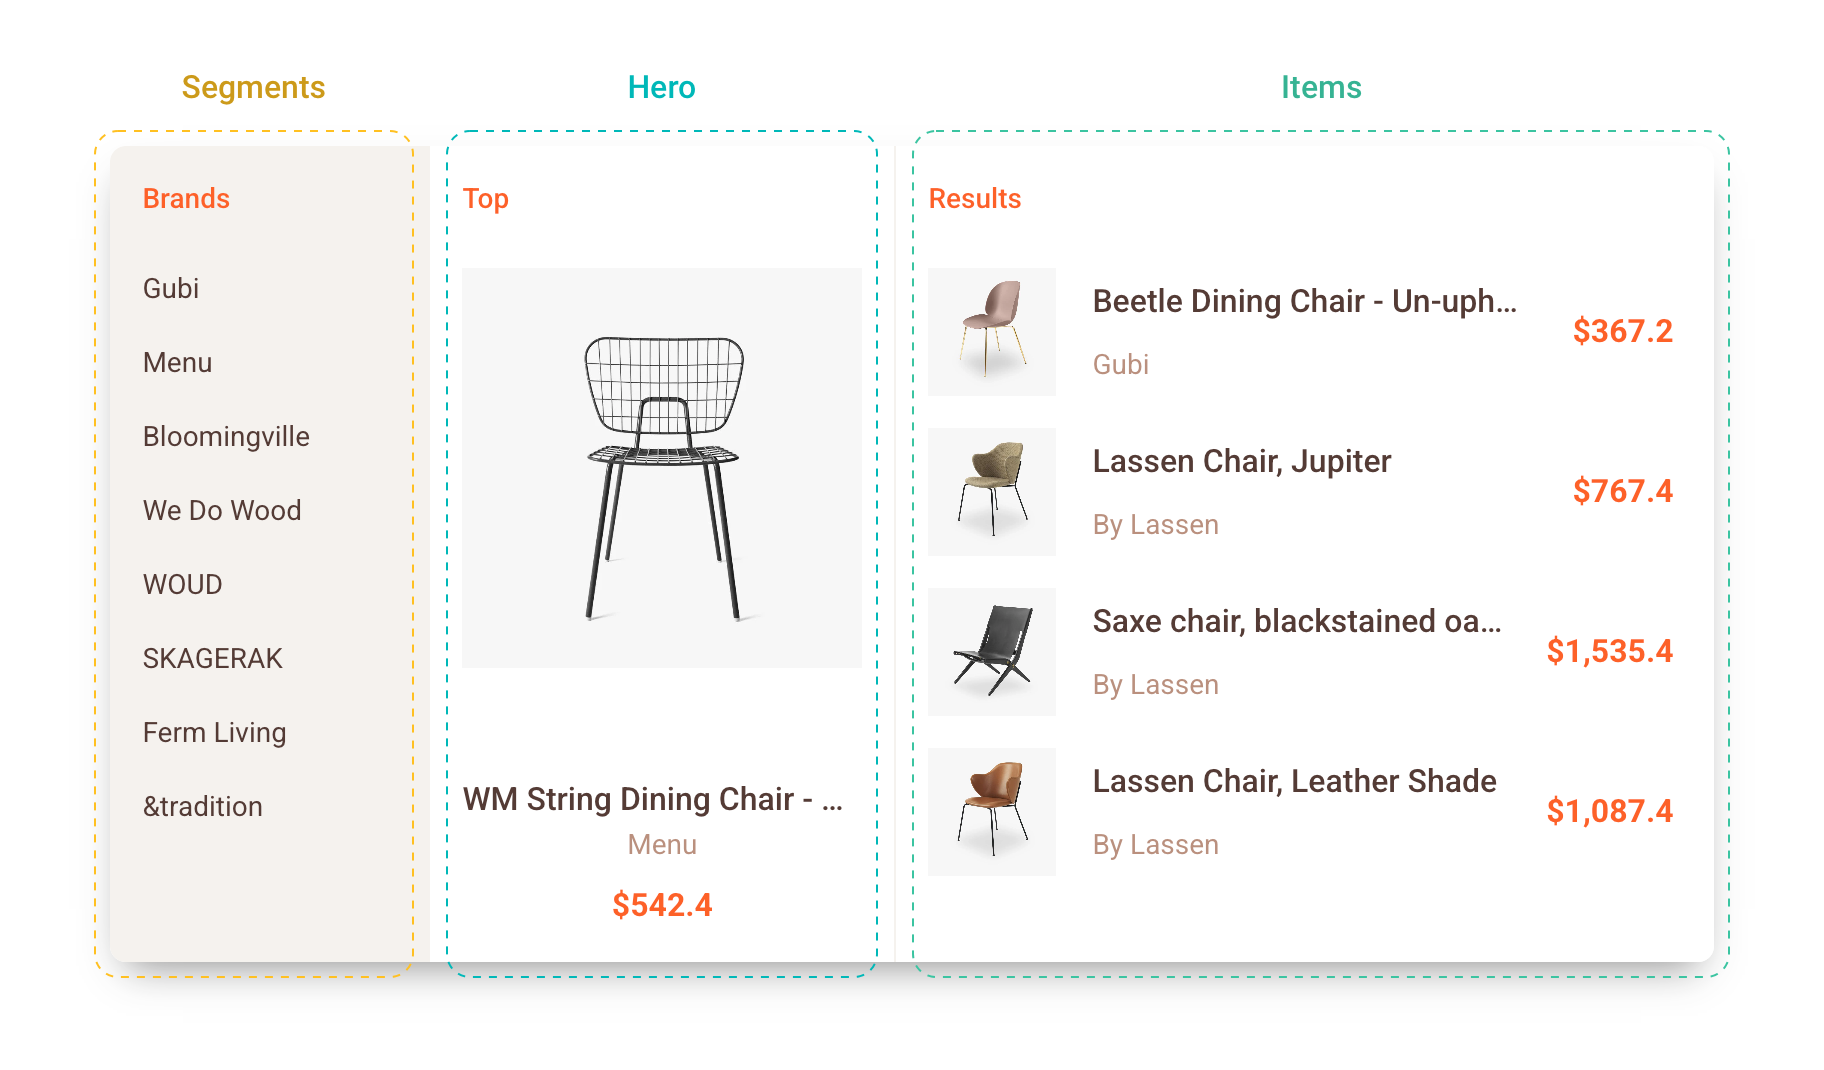
The following sections are available:
Items and Hero sections show the following elements of each Item:
You can specify which Item Properties will be used within these elements.
In the Segments section, only the Segment ID is shown. This can be the name of the category, genre, artist, vendor, etc.
All Items and Item Segments shown in the widget are clickable and will redirect the user to a specified URL.
For Items, this URL is constructed from an Item Property that you specify. This property should be the entire URL or contain a unique identifier of the Item (e.g. an Item ID or a URL slug).
For Item Segments, the URL is constructed from the Segment ID.
For all URLs, you can specify a prefix and a suffix. This is useful when you want to construct the URL manually.
The Form Behavior tab in the No-Code Widget editor (shown as a gear icon) allows you to fine-tune the behavior of the search input.
There you can set the following settings:
To deploy the No-Code Widget, simply copy the embed code into the place where the search input should be rendered.
The No-Code Widget Editor offers a wide range of settings to customize the visual appearance of the widget.
However, you may want to further fine-tune the appearance to match the style of your website.
You can do this by using your own CSS (Cascading Style Sheets) to change the appearance of the widget elements.
You can add your custom class names in four places in the No-Code Widget Editor using the {} icon:
img element and the wrapper around it,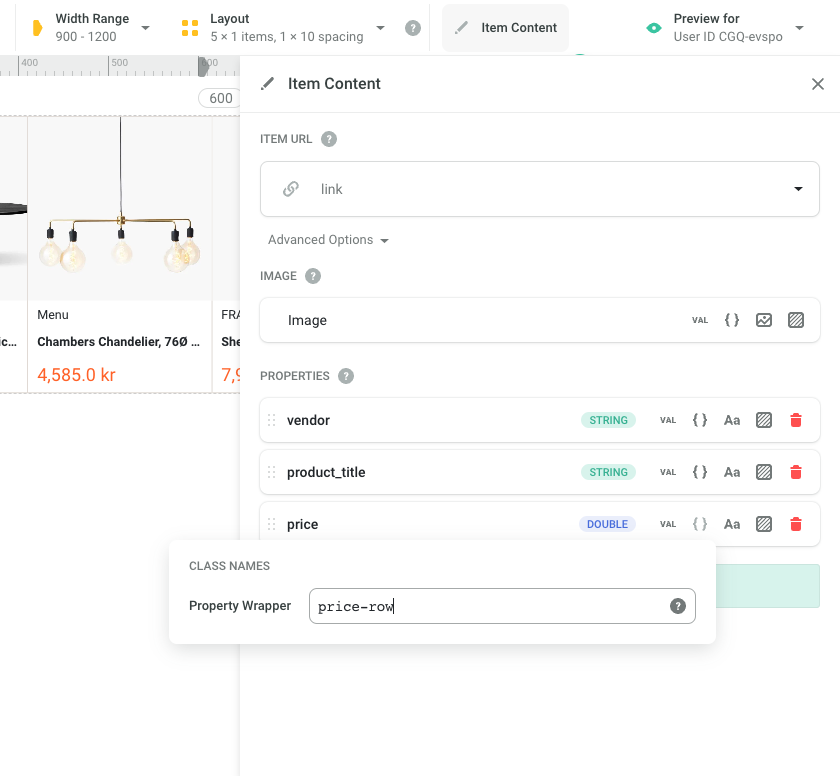
price-row class name to the row with the priceWhen applying the class names to elements that belong to a particular recommended item (Image and Properties sections), you can use the property values of the particular item to construct the class names using the ${context.entity.propertyName} syntax.
Assume the following item:
| Item ID | isOnSale bool | reviewRating int |
|---|---|---|
| item-42 | true | 5 |
The following class names can be created:
on-sale-${context.entity.isOnSale} sets the class on-sale-true on the elementrating rating-${context.entity.reviewRating} sets the classes rating rating-5 on the elementSearch Widget DOM elements have static class names in the form of recombee-quick-search-widget-*, which do not change. You can use these classes to provide custom CSS.
Please do not use class names in the form of rcmbws-*, as these are generated and can change in future releases.
You may want to filter the recommendations, boost items, or set the logic of the recommendations.
If possible, we recommend setting these parameters in the Scenario in the Admin UI.
However, you may also want to set them dynamically. This can be done by adding optional parameters to the InitializeRecommendationWidget call:
Use the filter parameter to apply a custom ReQL filter. For example, you can restrict displayed items to a specific category:
<script>
	recombeeIntegration({
		type: 'InitializeRecommendationWidget',
		rootElementId: 'widget-root-1043d1a3-d5ec-4528-b10b-7e2678f941cb',
		widgetId: '1043d1a3-d5ec-4528-b10b-7e2678f941cb',
		filter: `'category' == "sofas"`,
	});
</script>
Use the booster parameter to apply a custom ReQL booster. For example, you can boost items that are near the current position of the user:
<script>
	recombeeIntegration({
		type: 'InitializeRecommendationWidget',
		rootElementId: 'widget-root-1043d1a3-d5ec-4528-b10b-7e2678f941cb',
		widgetId: '1043d1a3-d5ec-4528-b10b-7e2678f941cb',
		booster:
			"if earth_distance(50.075538, 14.437800, 'latitude', 'longitude') < 10000 then 2 else 1",
	});
</script>
Use the logic parameter to set the Logic for the used recommendation requests, including their settings. For example, you can set the Logic to recommend popular items in the country of the user:
<script>
	recombeeIntegration({
		type: 'InitializeRecommendationWidget',
		rootElementId: 'widget-root-1043d1a3-d5ec-4528-b10b-7e2678f941cb',
		widgetId: '1043d1a3-d5ec-4528-b10b-7e2678f941cb',
		logic: {
			name: 'recombee:popular',
			settings: {
				userSegmentFilter: `'country' == "US"`,
			},
		},
	});
</script>
By default, the position of the widget on your page is determined by the position of the div element generated for you in the embed code snippet.
However, in some cases, you may want to set the position of the widget programmatically, such as when deploying the widget using a tag manager (such as Google Tag Manager).
You can specify where the widget will be rendered by giving its relative position to another element.
Use one of these optional parameters to specify this element:
insertBeforeElementSelector: The widget will be inserted before
the first element matching this selector (id, class, etc.).insertAfterElementSelector: The widget will be inserted after
the first element matching this selector.prependToElementSelector: The widget will be inserted as the
first child of the first element matching this selector.appendToElementSelector: The widget will be inserted as the last
child of the first element matching this selector.<script>
recombeeIntegration({
type: 'InitializeRecommendationWidget',
rootElementId: 'widget-root-1043d1a3-d5ec-4528-b10b-7e2678f941cb',
widgetId: '1043d1a3-d5ec-4528-b10b-7e2678f941cb',
appendToElementSelector: '.content',
});
</script>
In some cases, such as your database being empty or the widget scenario produces no results due to e.g. applied filters, the widget may fetch zero items. You may want to hide the widget itself and/or some other elements in your page such as a heading preceding the widget content.
hideOnEmptyRecommendations: The widget is hidden when no items are available.hideOnEmptyRecommendationsElementsSelectors: Selected elements in page are hidden when no items are available.<script>
recombeeIntegration({
type: 'InitializeRecommendationWidget',
rootElementId: 'widget-root-1043d1a3-d5ec-4528-b10b-7e2678f941cb',
widgetId: '1043d1a3-d5ec-4528-b10b-7e2678f941cb',
hideOnEmptyRecommendations: true,
hideOnEmptyRecommendationsElementsSelectors: ['.widget-title'],
});
</script>
You can supply a callback function that receives data about each recommendation request made by the widget:
<script>
	recombeeIntegration({
		type: 'InitializeRecommendationWidget',
		rootElementId: 'widget-root-1043d1a3-d5ec-4528-b10b-7e2678f941cb',
		widgetId: '1043d1a3-d5ec-4528-b10b-7e2678f941cb',
		onRecommResponse: function(recombeeRequest, recombeeResponse, url, request, response) {
			console.log(recombeeRequest, recombeeResponse, url, request, response);
		},
	});
</script>
recombeeRequest: Recombee API client request, either a single request or a Batch.recombeeResponse: Resulting recommendations data, either a single response or a Batch response.url: Recombee API URL to which the request was sent.request: Standard fetch RequestInit object.response: Standard fetch Response object.To deploy a widget using GTM, create a Custom HTML Tag and copy-paste the widget embed code to the Tag HTML content.
Set a Page View trigger for pages where the widget should be deployed and use positioning parameters to insert the widget to a specific place on your page.
To provide the most relevant recommendations, Recombee by default identifies the user using first-party cookies on the user's browser.
The cookie is set by Recombee Integration script, which is used to track interactions or render recommended items in No-Code Widget. The cookie doesn't identify your users personally.
You may need to notify your users about the use of tracking cookies depending on your user's country privacy laws. This is usually done by using a cookie manager deployed to your website. Please consult your legal team to determine whether this step is necessary.
As we use first-party cookies, Recombee tracks your users only on your website - Recombee does no cross-site tracking. Read more about the difference between first-party and third-party cookies here.
| Name | Description | Duration | Data Type |
|---|---|---|---|
| _rcmbid | _rcmbid is set each time a user lands on a page with the Recombee Integration script. The cookie is used to preserve the unique Recombee User ID. This ensures that all interactions performed by the unique visitor are attributed to a common anonymous ID. | 365 days, refreshed on each visit | String |
Recombee doesn't track or record users who have cookies disabled.
If you already track the users on your site, you can provide the ID of the user to the Recombee Integration script. You can select this option in the Embed Code section when creating the No-Code Widget.
In this case, no cookie is set by the widget.
Here is an example of using the Recombee with Google Analytics user IDs:
<script>window.recombeeIntegration = window.recombeeIntegration || function () { (recombeeIntegration.q = recombeeIntegration.q || []).push(arguments); }; recombeeIntegration.l = +new Date();</script>
<script>
	ga(function (tracker) {
		var userId = tracker.get('clientId');
		recombeeIntegration({
			type: 'SetDefaults',
			userId: userId,
			publicToken: 'e2RcU3jPQy1sr6CSIewjbh6IsKmMsaGT4KL4uV8kqWlBkx5hgHg7VYRWf70UFZ9D',
			databaseId: 'my-recombee-database',
			rapiHostname: 'client-rapi.recombee.com:443',
		});
		recombeeIntegration({
			type: 'InitializeRecommendationWidget',
			rootElementId: 'widget-root-1043d1a3-d5ec-4528-b10b-7e2678f941cb',
			widgetId: '1043d1a3-d5ec-4528-b10b-7e2678f941cb',
		});
	});
</script>
<script defer src="https://web-integration.recombee.com/v1/recombee.js"></script>
<div id="widget-root-1043d1a3-d5ec-4528-b10b-7e2678f941cb"></div>